A few days ago I took the band saw apart and meticulously documented and photographed the disassembly. Hopefully I took enough pictures…
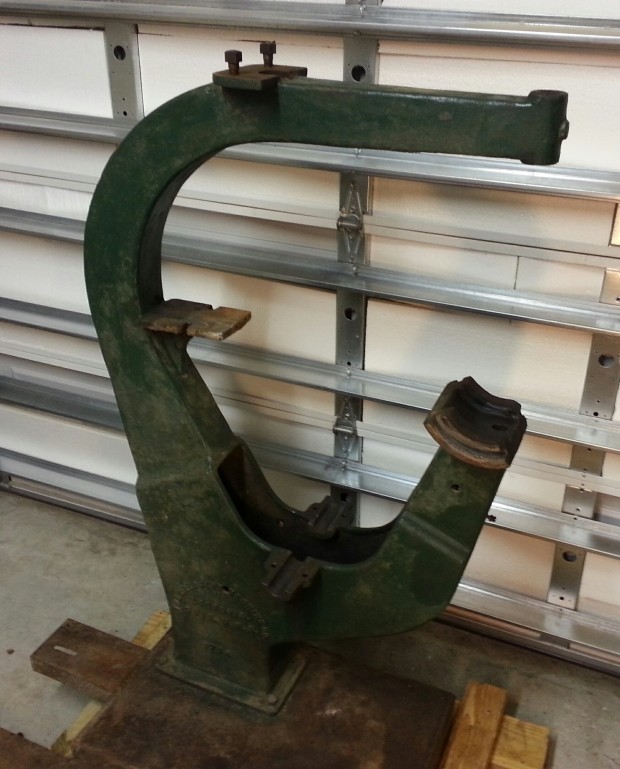
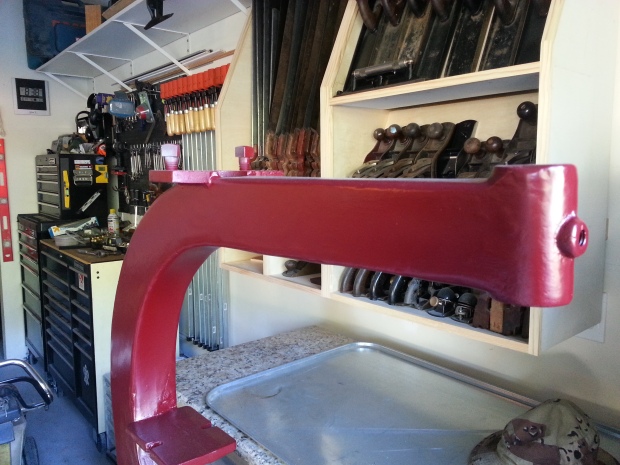
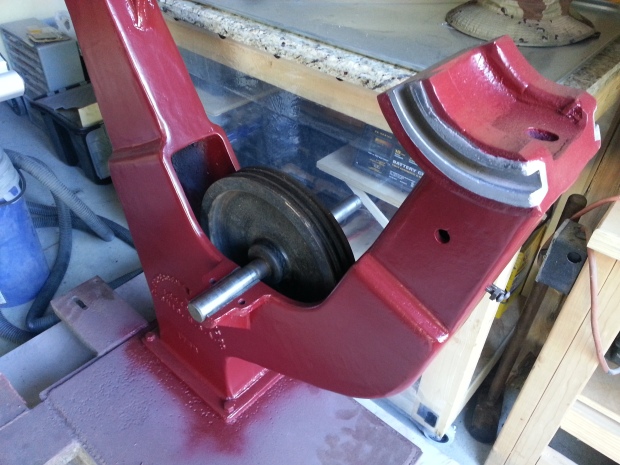
Now it’s time to start working on removing the John Deere green and applying something a little less “farm”. Don’t get me wrong, I like the green and yellow color scheme but it belongs on two things; tractors and implements. My plan of attack for the band saw is to start with the frame and then simply add components as I complete them. Here’s what I started with:
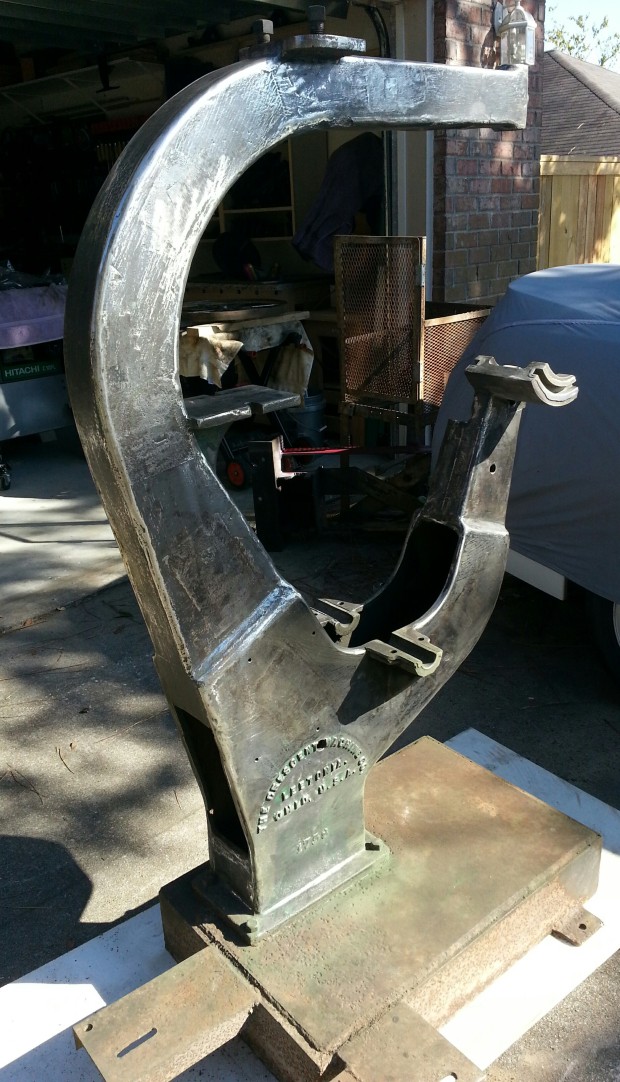
From what I could tell, the green was just spray painted over the original flat black. I took the frame outside to avoid filling the garage with lead based paint dust. You should assume that all old machinery is painted with lead paint and take precaution against inhaling it. I wore a commercial grade respirator, safety glasses and gloves. Using a wire and abrasive flap wheel on a 4-1\2″ grinder, I was able to strip the frame down to bare metal in just over an hour.
With the frame stripped, you could see and feel the texture of the casting. It was rougher than I anticipated. In order to smooth everything out a bit I applied a couple coats of body filler.
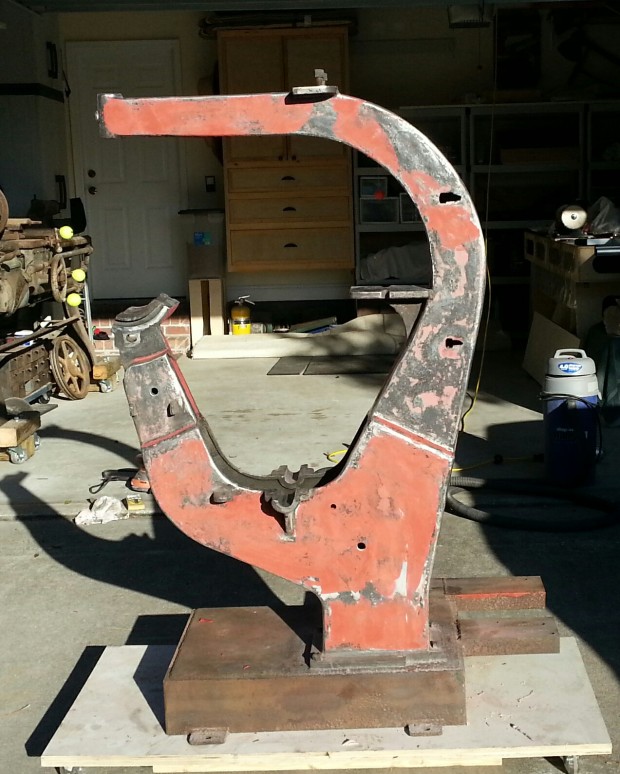
Once the filler had dried thoroughly, I sanded everything back to bare metal again using a flat block and 120 grit paper. In the next picture I’ve started sanding the frame and you can see how filler is left behind in the low spots. I did this two times before moving to the next step.
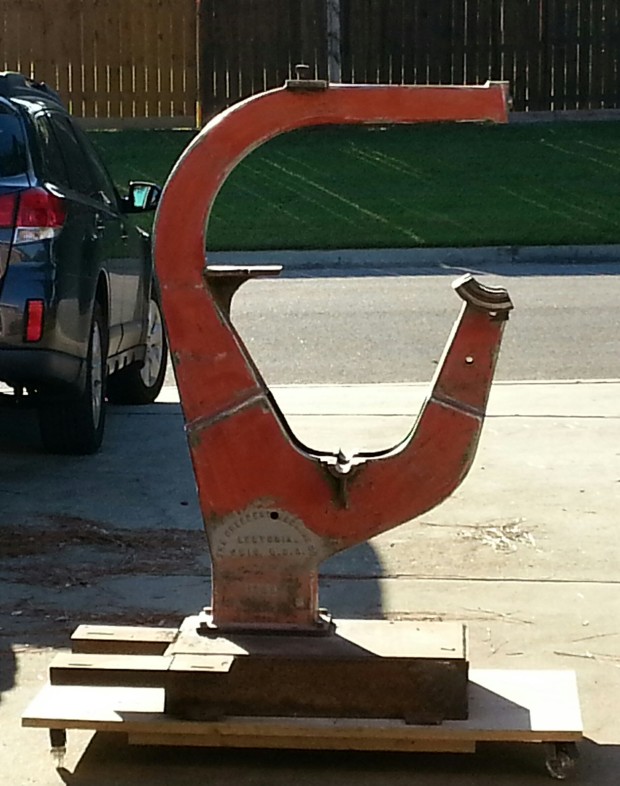
Once I was satisfied with the smoothness of the frame everything was wiped down with acetone in preparation for priming. Blue painter’s tape was applied over all of the babbitt bearings. I used Rustoleum professional duty grey primer. I applied thee coats, starting with a very light coat and got progressively heavier each time. The frame looked really good in grey.
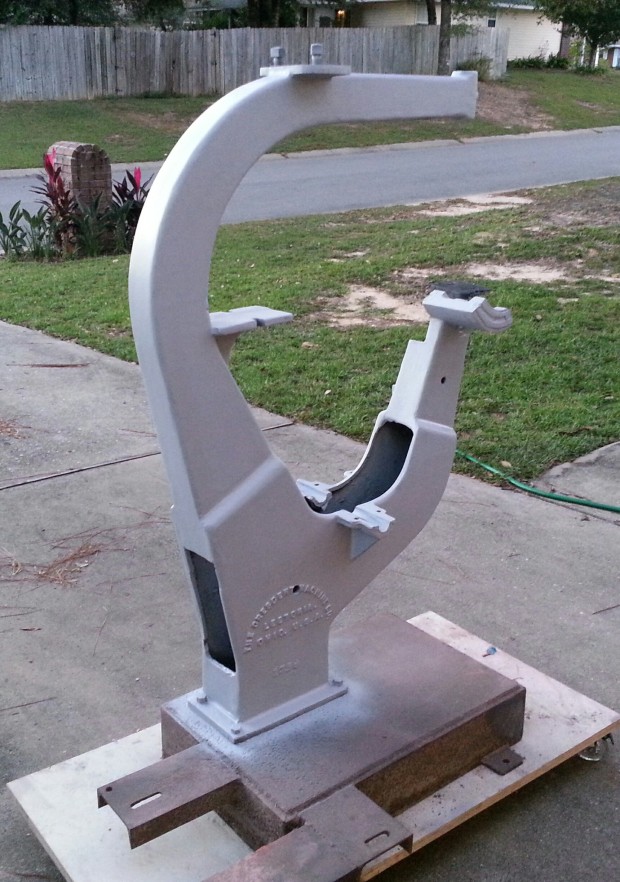
The primer allowed me to see how the body filler worked on the frame. The result I was aiming for was smooth but not perfect. You can still see the major casting and assembly lines used in the manufacturing process.
After the primer had dried for several hours I applied the top coat. I used Rustoleum enamel spray paint in a satin finish, applying several coats using the same method as with the primer. Each coat was applied heavier than the previous and about ten minutes apart.
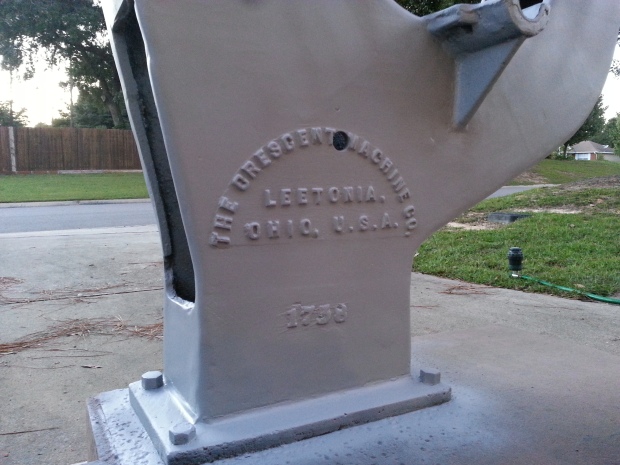
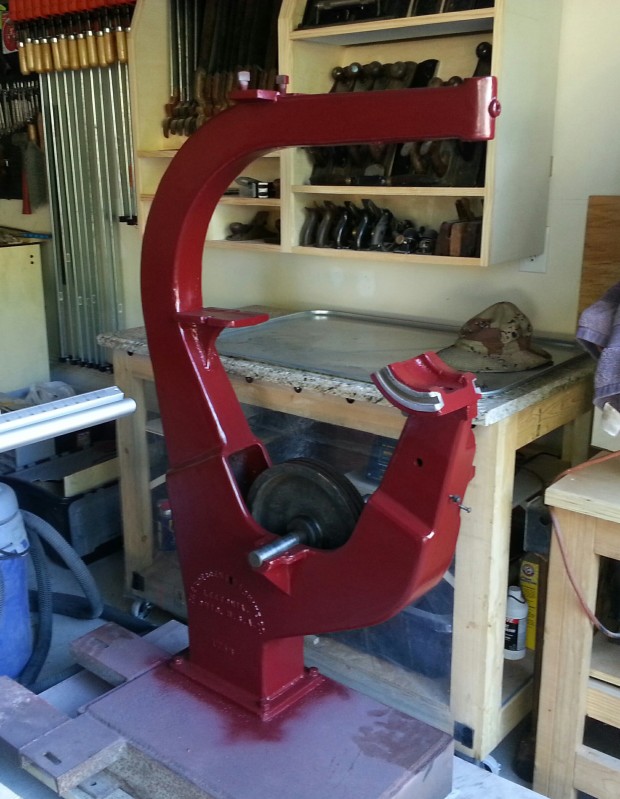
The paint color is “chardonnay” and turned out really nice. It’s not perfect but hopefully it’ll provide enough protection to keep this saw running for another 80+ years. Over the next few days, the paint darkened nicely to what you see in the following picture.
I’ve already started cleaning and painting components for the upper assembly but next I’ll be fabricating a new base for the saw and motor assembly.
Thanks for stopping by and please let me know if you have any thoughts or questions. Till next time…
#1 by Gill McLane on November 4, 2014 - 1:44 AM
Looking forward to following your profess.
Gill