Posts Tagged Band saw
26″ Crescent Band Saw Base
Posted by Christopher in Projects, Tool Restorations, Workshop Design on November 10, 2014
My current workshop is half of a two car garage that I share with my girlfriend’s beloved Mazda. With my recent slew of machinery purchases, space management has become quite important. Furniture dollies and casters are a blessing when shuffling equipment around.
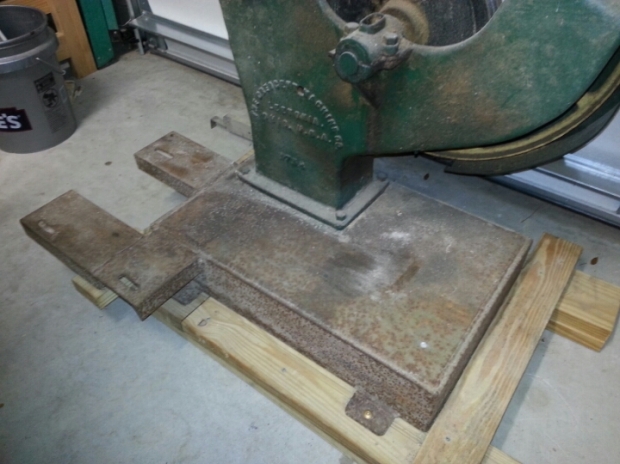
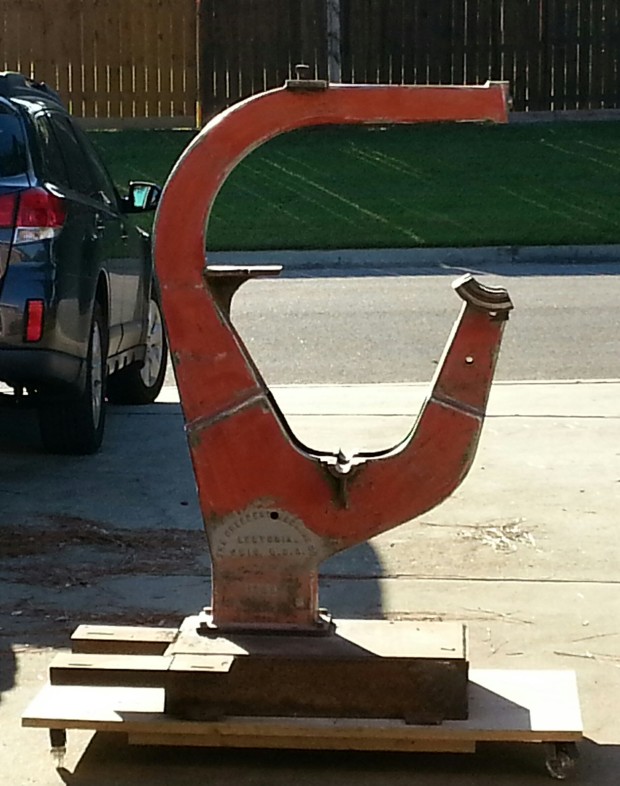
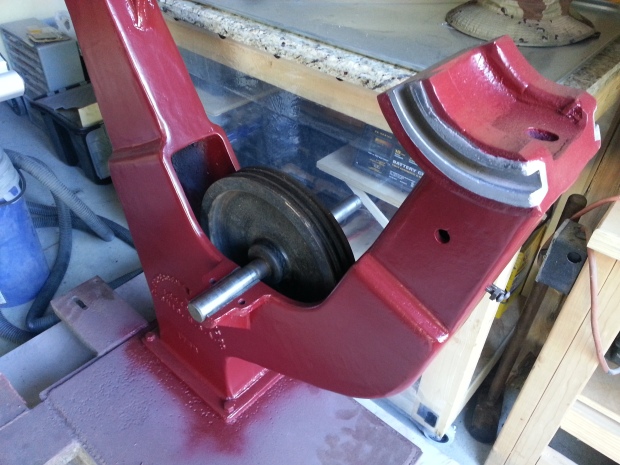
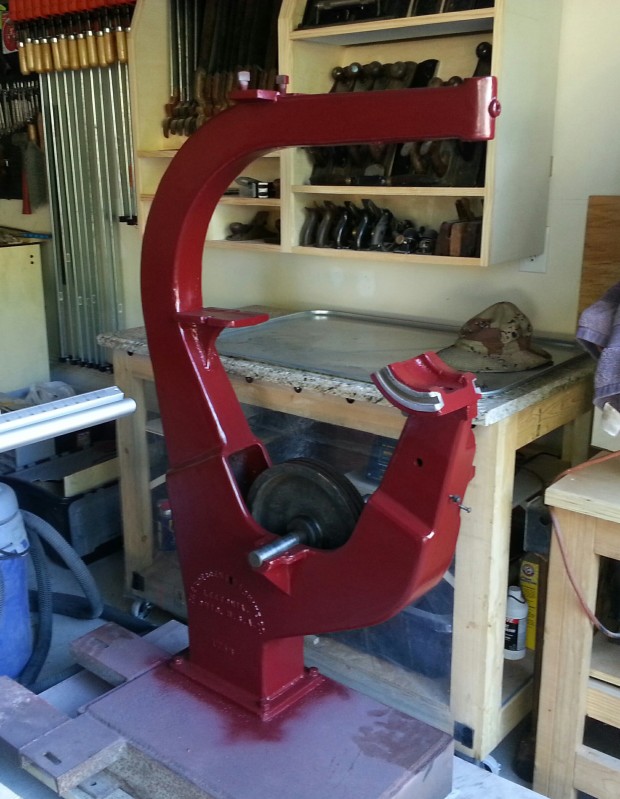
The base that the band saw came with is designed to be fastened to the floor and doesn’t lend itself to moving around a small shop easily. This is what I started with…
Whoever designed and built this base did a great job. As part of a Universal Woodworker, the saw was fastened to a large cast iron base that was about 6 inches tall. The base shown above mimics the original base.
The saw with a motor weighs somewhere in the neighborhood of 800 pounds. I need the cart to be strong enough to hold the saw and tall enough to position the table at a comfortable work height. Metal was the material of choice and after some research and a half dozen phone calls I found a local distributor.
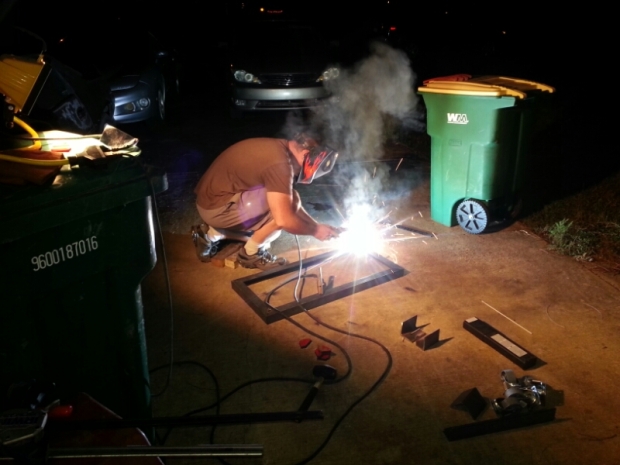
I used a chop saw to make the first set of cuts, leaving extra length just in case things needed to be adjusted with the grinder. My experience with the chop saw was less than favourable. Luckily, David introduced me to a new friend of his who was kind enough to let me cut everything again using his horizontal band saw. The band saw produced a clean accurate edge which made welding everything together easier. David joined in with the welding.
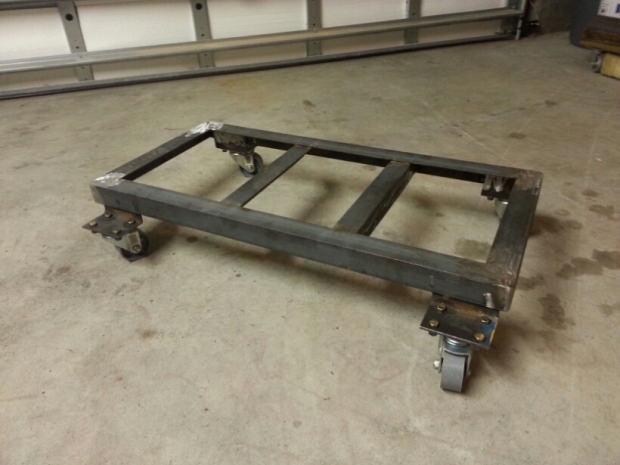
After a few hours of playing with the welder, this is what I had to show for it. The next thing that I did was to drill the holes for the 4 bolts that fasten the main casting to the cart. After that I ground away all of the unsightly slag, slapped on a coat of primer and then couple coats of black.
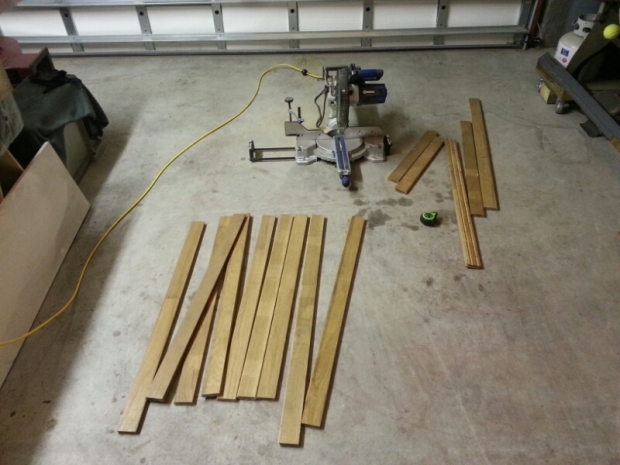
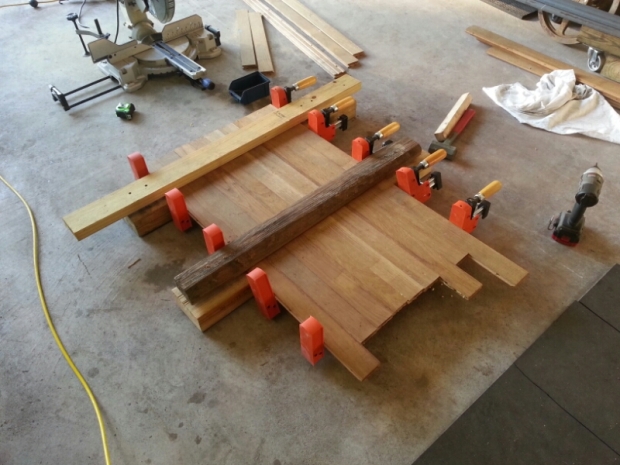
While the paint was drying, I started working on building a deck for the cart. David had a pile of reclaimed oak flooring that he was nice enough to let me pick through. I cut everything to a rough length and removed a few nails before gluing everything together.
Here’s the deck glued and clamped up. I set this aside to dry for a couple days while I focused on dressing up the casters.
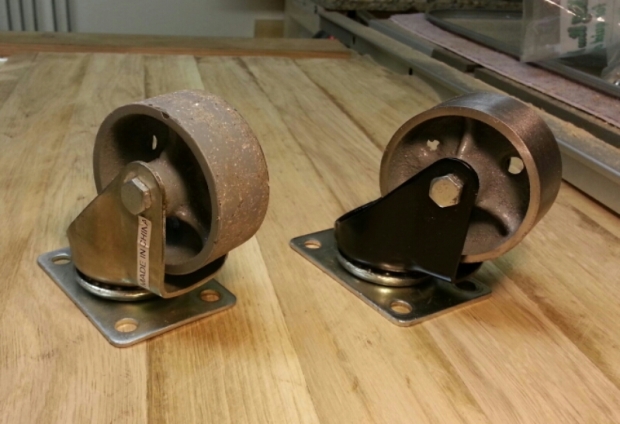
The casters I had on hang had been used previously to move the lathe. I disassembled them, painted the body, and cleaned the wheel up with a flap-wheel. Here’s a before and after.
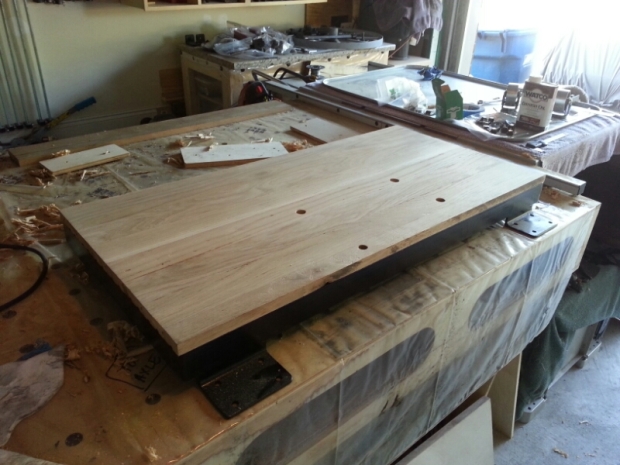
By the time that I’d finished the casters the oak deck was ready to be finished. I started by cutting it to size with the table saw and then working it with a couple hand planes until everything was smooth. Here it is fastened to the freshly painted frame.
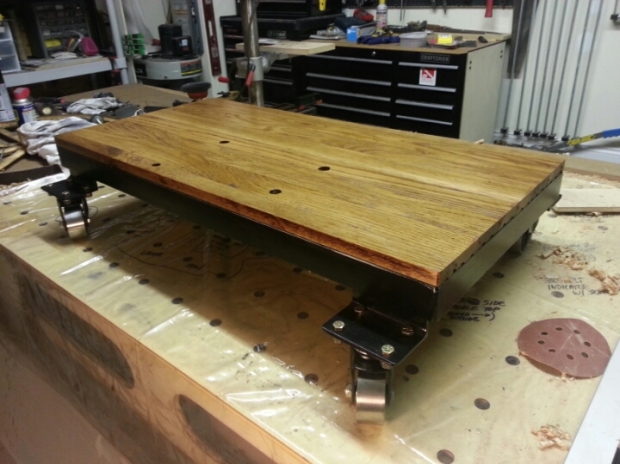
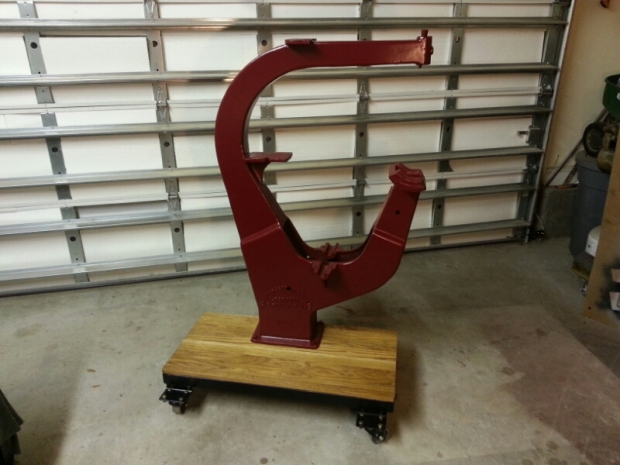
I applied a few coats of danish oil and attached the casters. Here’s the finished cart, ready to move the band saw around the shop.
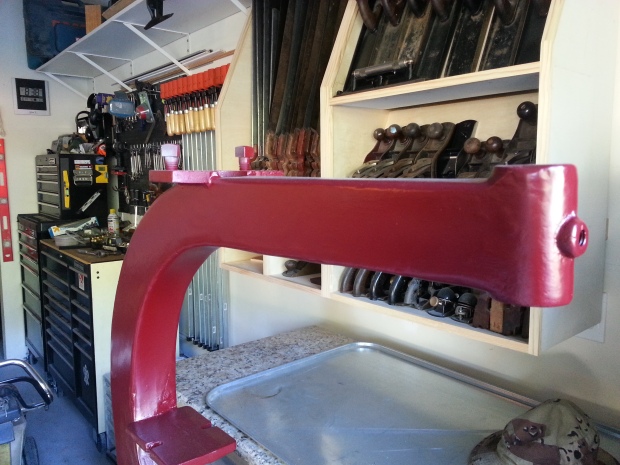
And here’s the frame mounted to the new base. It’s a big improvement over what I started with and will make life a little easier in my current workspace.
Next up I’m working on the upper wheel assembly and blade guide. Thanks for checking in on my progress and please let me know what you think.
26″ Crescent Band Saw Frame Restoration
Posted by Christopher in Projects, Tool Restorations on October 23, 2014
A few days ago I took the band saw apart and meticulously documented and photographed the disassembly. Hopefully I took enough pictures…
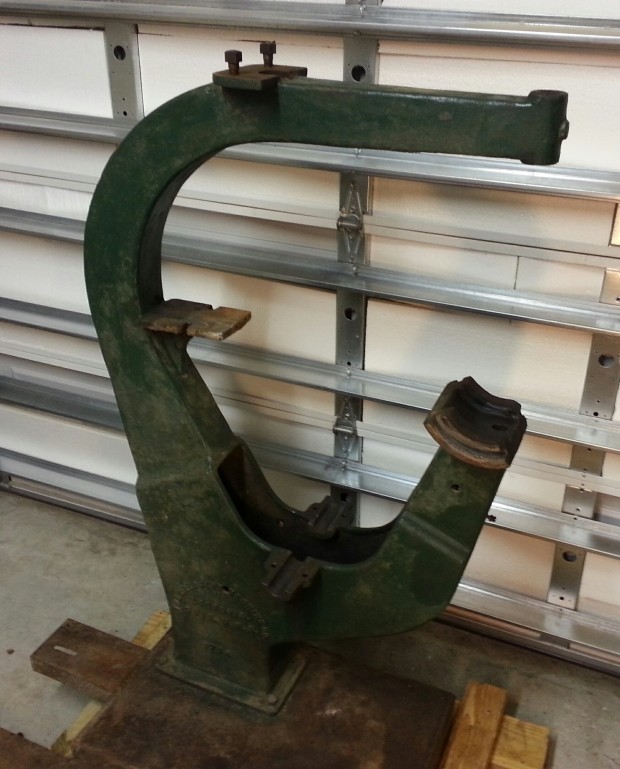
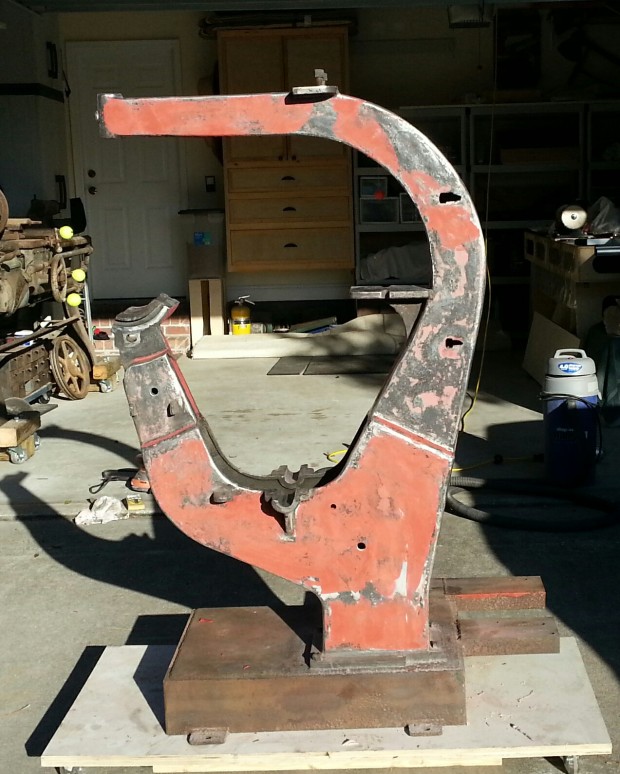
Now it’s time to start working on removing the John Deere green and applying something a little less “farm”. Don’t get me wrong, I like the green and yellow color scheme but it belongs on two things; tractors and implements. My plan of attack for the band saw is to start with the frame and then simply add components as I complete them. Here’s what I started with:
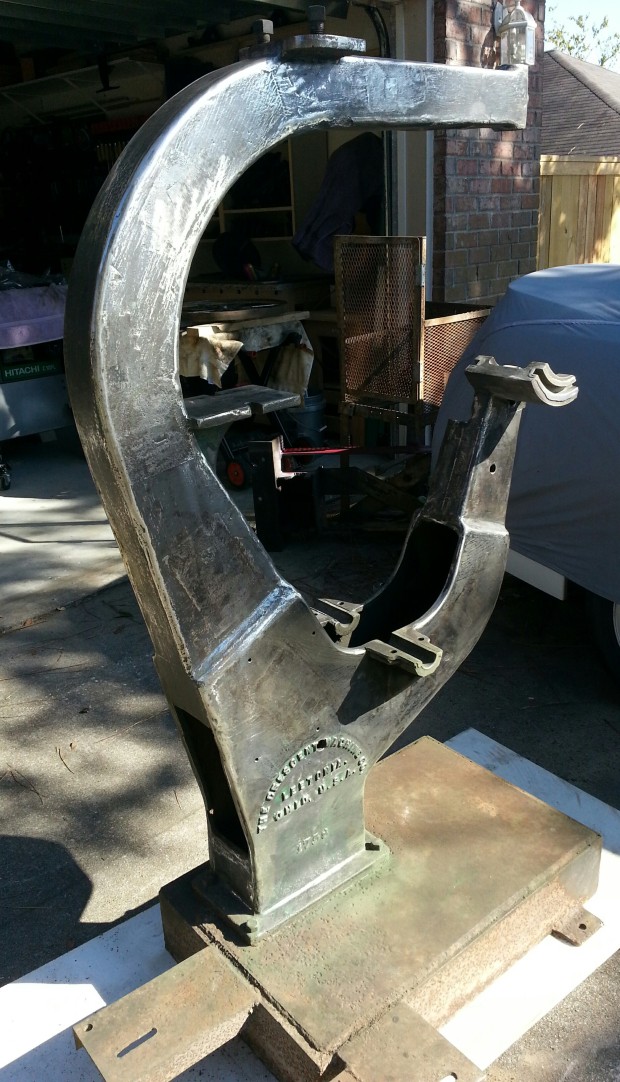
From what I could tell, the green was just spray painted over the original flat black. I took the frame outside to avoid filling the garage with lead based paint dust. You should assume that all old machinery is painted with lead paint and take precaution against inhaling it. I wore a commercial grade respirator, safety glasses and gloves. Using a wire and abrasive flap wheel on a 4-1\2″ grinder, I was able to strip the frame down to bare metal in just over an hour.
With the frame stripped, you could see and feel the texture of the casting. It was rougher than I anticipated. In order to smooth everything out a bit I applied a couple coats of body filler.
Once the filler had dried thoroughly, I sanded everything back to bare metal again using a flat block and 120 grit paper. In the next picture I’ve started sanding the frame and you can see how filler is left behind in the low spots. I did this two times before moving to the next step.
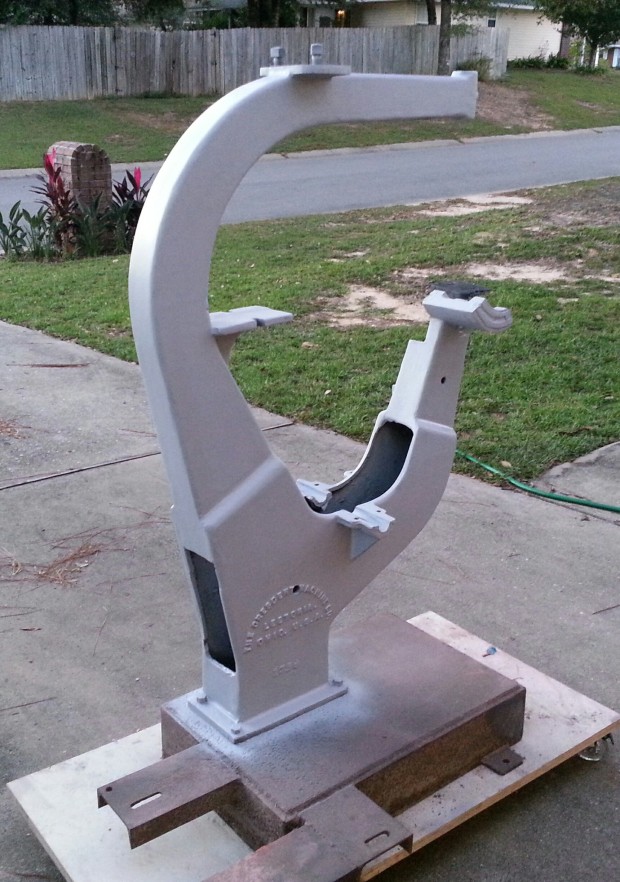
Once I was satisfied with the smoothness of the frame everything was wiped down with acetone in preparation for priming. Blue painter’s tape was applied over all of the babbitt bearings. I used Rustoleum professional duty grey primer. I applied thee coats, starting with a very light coat and got progressively heavier each time. The frame looked really good in grey.
The primer allowed me to see how the body filler worked on the frame. The result I was aiming for was smooth but not perfect. You can still see the major casting and assembly lines used in the manufacturing process.
After the primer had dried for several hours I applied the top coat. I used Rustoleum enamel spray paint in a satin finish, applying several coats using the same method as with the primer. Each coat was applied heavier than the previous and about ten minutes apart.
The paint color is “chardonnay” and turned out really nice. It’s not perfect but hopefully it’ll provide enough protection to keep this saw running for another 80+ years. Over the next few days, the paint darkened nicely to what you see in the following picture.
I’ve already started cleaning and painting components for the upper assembly but next I’ll be fabricating a new base for the saw and motor assembly.
Thanks for stopping by and please let me know if you have any thoughts or questions. Till next time…
26″ Crescent Band Saw Tear Down
Posted by Christopher in Projects, Tool Restorations on October 13, 2014
The band saw has been sitting patiently in the corner of the garage since sometime in June. I promised to get a few projects completed before starting any work on the saw.
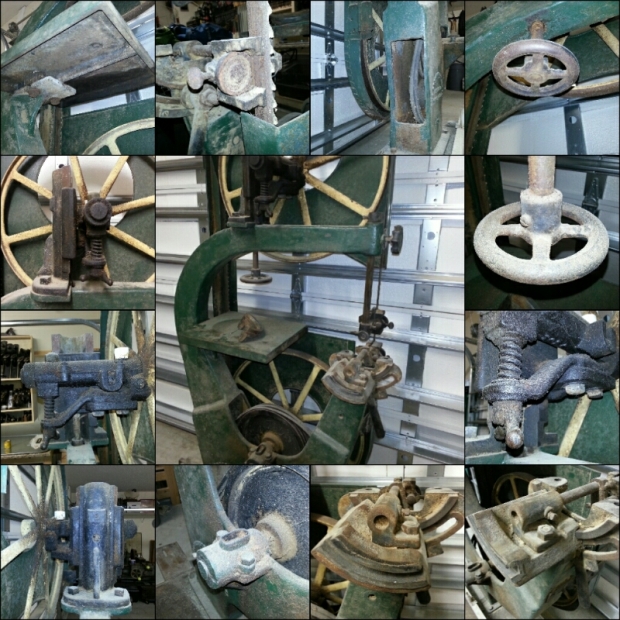
Last week I finally finished the last project on my honey-do list and was able to start the refurbishment. This first thing I did was take pictures. Lots and lots of pictures of every part from multiple angles. I’ll be using these to make sure that things go back together properly.
I’ve done a fair amount of research and to the best of my knowledge, Crescent Machine Co. didn’t make saws with big OSHA style blade guards until they were purchase in1945 by Pittsburgh Equitable Meter and Manufacturing Company, which later became the Rockwell Manufacturing Company. The guard on my saw don’t look to bad but aren’t original and because of that I’m going to remove them permanently.
Lucky for me, whoever modified the blade guards used the original mounts. This is going to save me some grief when it comes time to make blade guards similar to those that came on the saw.
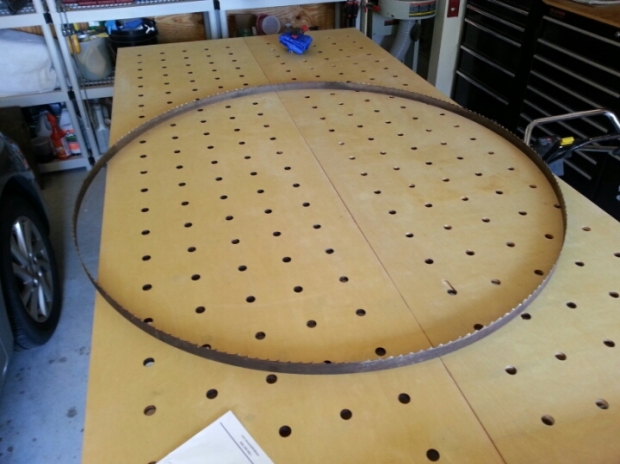
Taking the saw apart was pretty straight forward. I removed the blade first. My workbench is 46″ wide. I attempted to fold the blade up neatly but almost decapitated myself. After some practise with one of my smaller band saw blades and a pair of gloves I was successful.
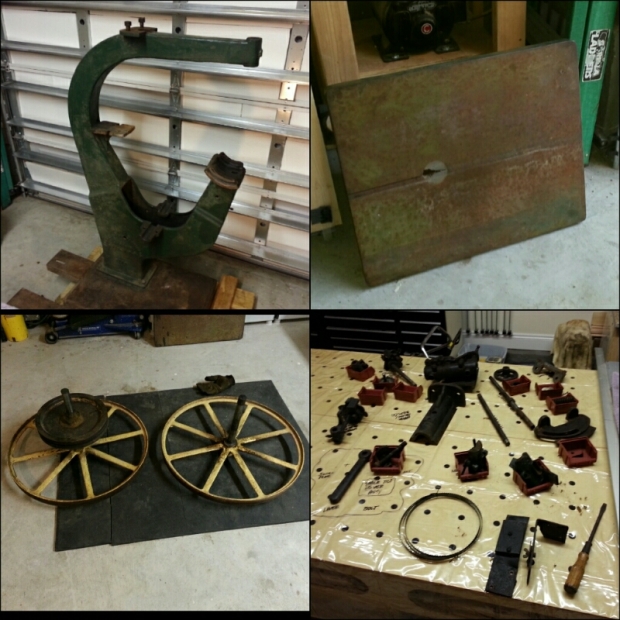
Once the blade of death was out of the way, the rest of the saw came apart very quickly. I was able to tear it down to the frame while taking pictures and notes in an hour and a half. Here’s the saw completely tore down.
My plan is to start with the frame and then add to it as I work through each of the individual parts. This will hopefully free up room in the garage as the project progresses.
Stay tuned for the next update!
Crescent Machine Co. 26″ Band Saw
Posted by Christopher in Projects, Tool Restorations on October 12, 2014
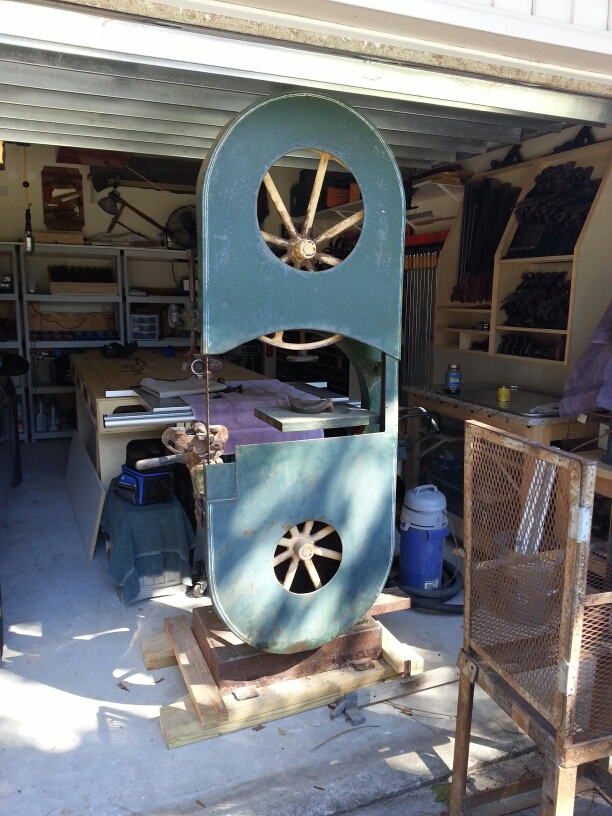
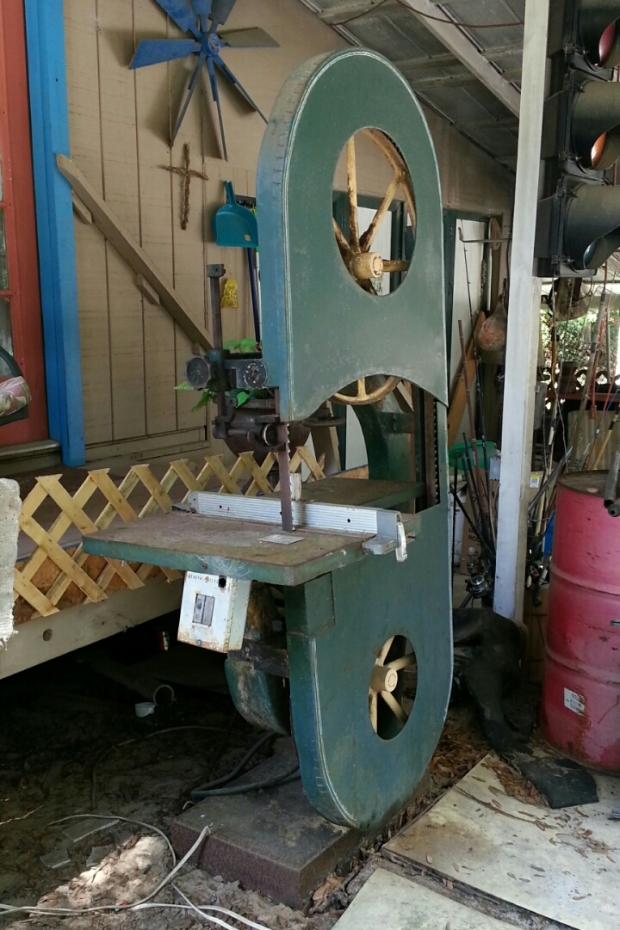
Earlier this summer while looking through the local Craigslist adds I happened upon a posting for a large band saw. There was no picture and the description didn’t mention a name brand or any specifics. The saw was about 15 miles away and out of curiosity I contacted the owner and made plans to see it. I called David and off we went. This is what we found…
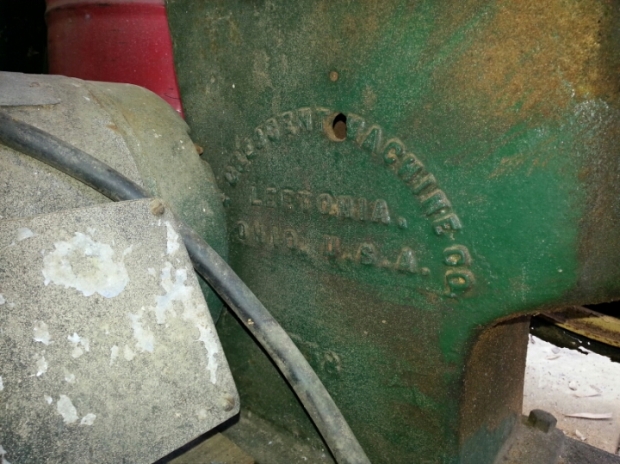
I wasn’t expecting this at all. I thought it was going to be a big Delta or Rockwell and was pleasantly surprised to discover a 26″ Crescent Machine Co. band saw.
We looked over the saw, and after some haggling settled on a price.
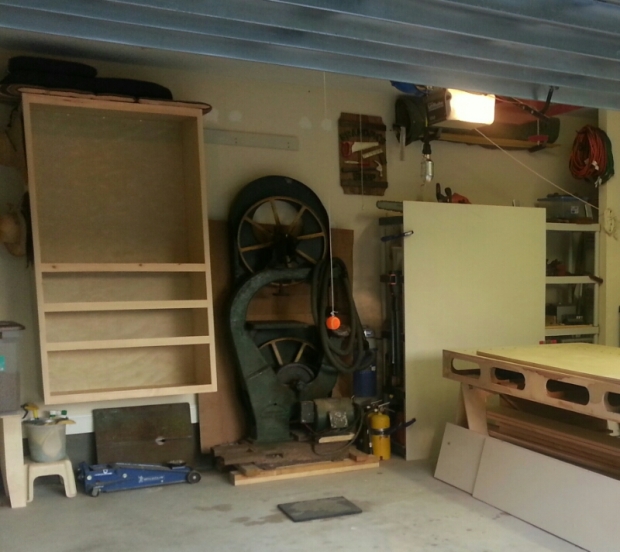
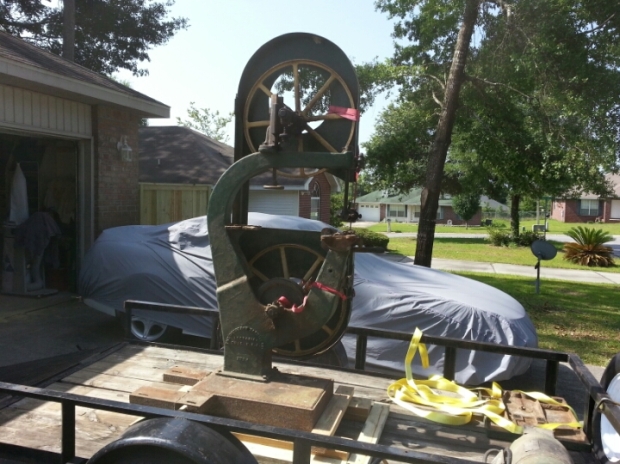
Here she is, securely loaded onto a trailer. We removed the tables and motor to make it easier to move. You can see the main table in the upper right corner of the trailer and the 3hp motor below it. I built a wooden base/pallet to increase the stability and help in moving on and off the trailer. The base had tabs for fastening the saw to a floor. I used lag bolts to secure the saw to the wooden base. Using 3/4″ PVC pipe, we rolled the saw down the trailers ramp and into the garage.
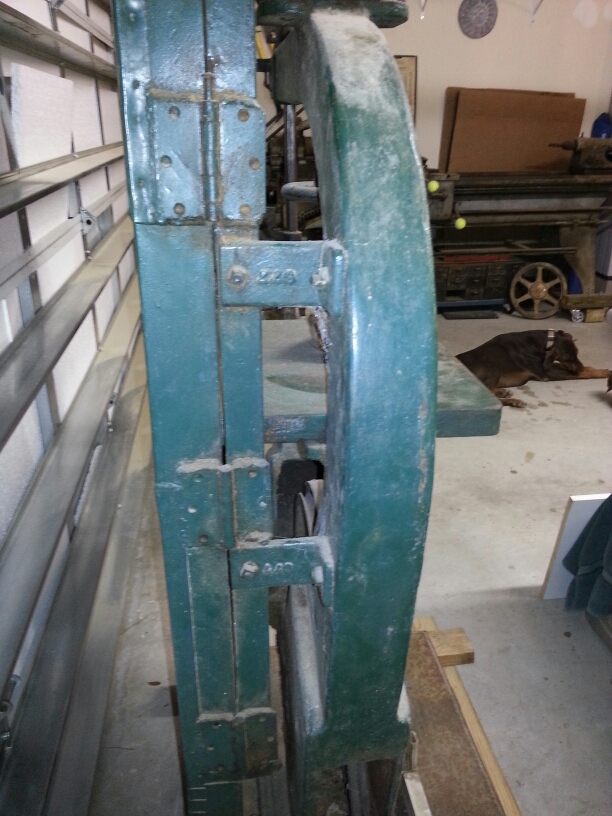
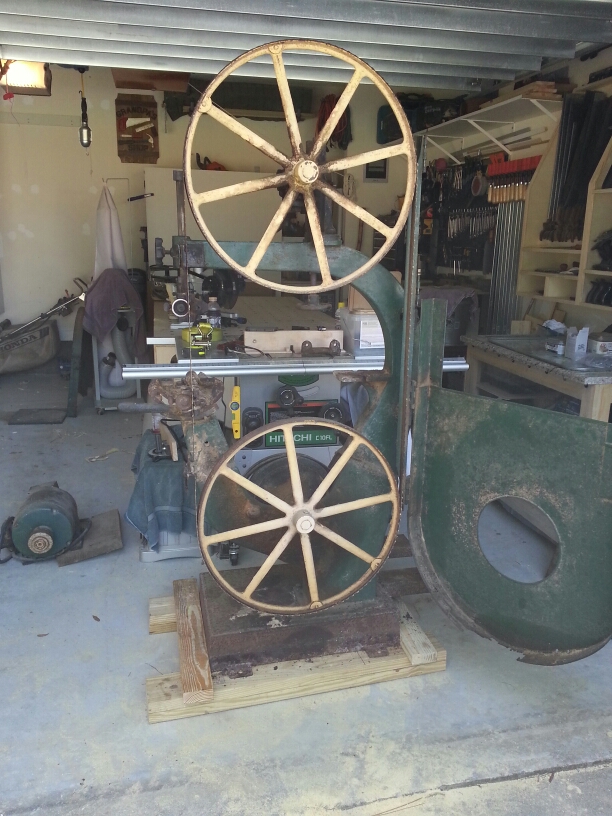
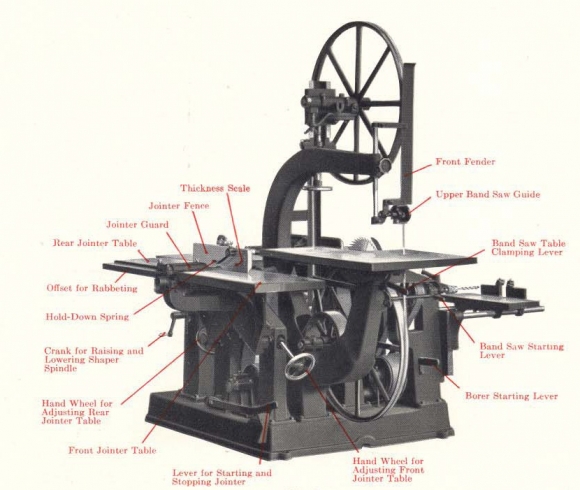
We had to remove the top blade cover to fit into the garage. Everything looks and feels great. The wheels turn freely and all of the adjustments work without any apparent issues. If you’re familiar with Crescent’s line of machinery, you’ve probably noticed that this saw is different from their standard band saw. Crescent manufactured a piece of machinery called the “Universal Woodworker” which contained an arbor saw, jointer, shaper and band saw all attached to a single base. Is quite an impressive piece of machinery as you can see in the image below. Everything ran on one motor and each station could be operated simultaneously. My band saw was originally part of an Universal Woodworker.
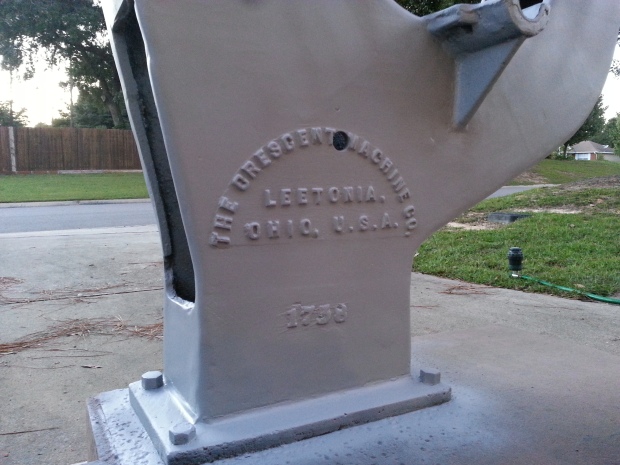
I couldn’t locate a serial number and probably never will because Crescent signed a single number to a Universal Woodworker which was typically stamped onto the arbor saw’s table. And because Crescent didn’t change many features on their band saws over the years it has been difficult to establish how old the saw is. I’ve looked through old catalogs online and the best I’ve come up with is somewhere between 1915 and 1930.
So what am I going to do with a 26″ band saw? Use it of course… But first I’m going to take her apart, clean everything up and restore her. Check back to see my progress and the finished product.
Recent Comments