Posts Tagged block plane
So Many Planes
Posted by Christopher in Projects, Workshop Design on April 24, 2014
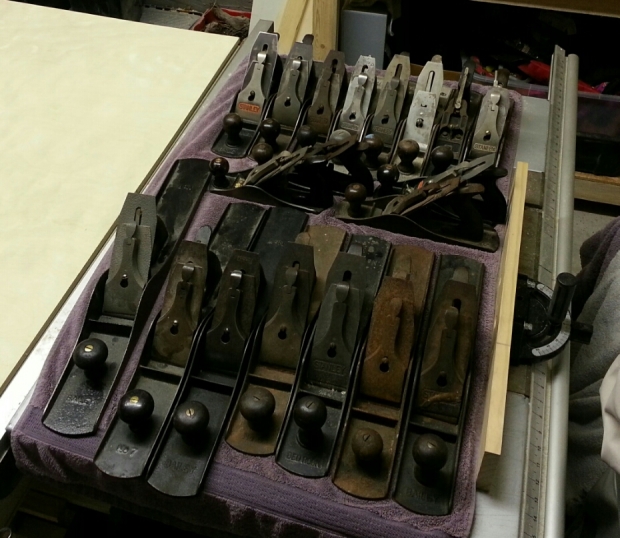
I’ve been collecting vintage tools for a couple years now, focusing mainly on Henry Disston handsaws and Stanley bench planes. I usually find at least one tool every time I venture out to a flea market, estate sale, or antique shop. These tools have been piling up in plastic bins and on shelves in the garage. A few months ago I took a quick inventory and realized that I had enough bench planes to open a Duncan Phyfe furniture factory.
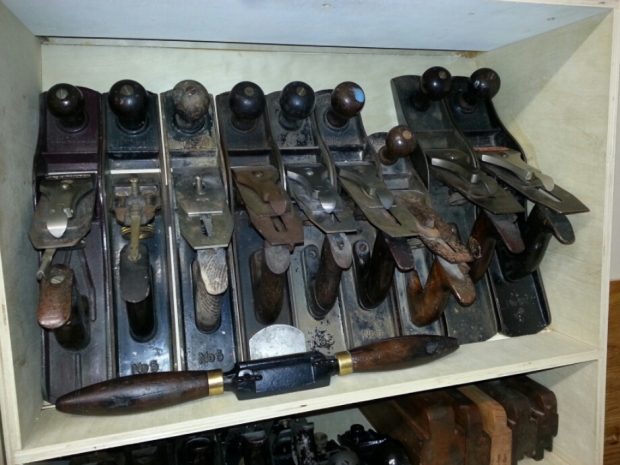
Most of these are in a queue to be taken apart, cleaned, and tuned for use. The rest are in good shape and used regularly. The No.5’s have gotten out of hand. I’m embarrassed to admit that I have 11 Stanley’s and 1 Keen Kutter-K5. I need to thin the fleet out soon to make room something more useful like the elusive No. 4-1\2 or an overpriced No. 2.
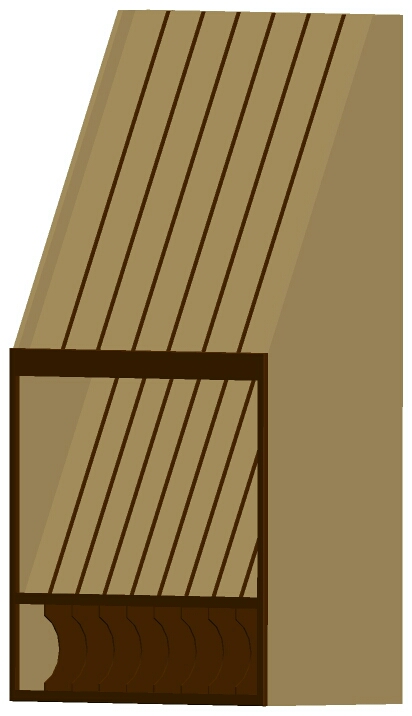
I’ve been planning to build a row of cabinets to hold my woodworking tools since I moved in last year. I have a vision of a saw and plane till sharing the same profile so that when installed look like one big cabinet. I read through woodworking forums for a couple hours researching common designs, measured a few tools and started playing with CAD software. This is what I came up with.
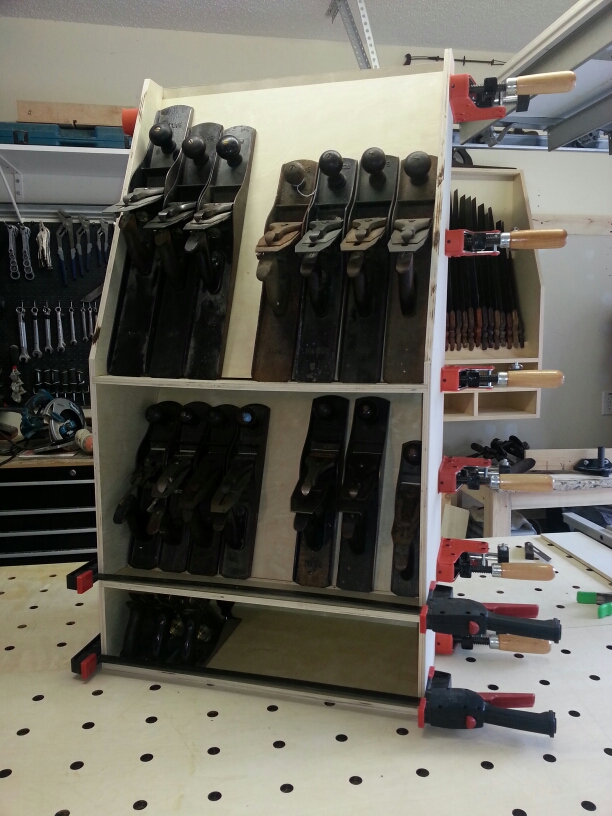
There’s room for 25 planes! Nobody really needs more than 5 bench planes, let alone duplicates. This till is going to allow me to see what I have, access them easily, and provide a visual reminder to choose wisely when out and about picking (my girlfriend may beat me with the next No.5 I let follow me home).
I used cabinet grade 1/2 inch pine plywood and plan to trim it out with premium quality pine lumber. Please don’t judge me for using pine. I’d rather build my tool cabinets with a quality hardwood like oak or walnut but this would take selling a kidney on the black market. The pine is nicer than I anticipated.
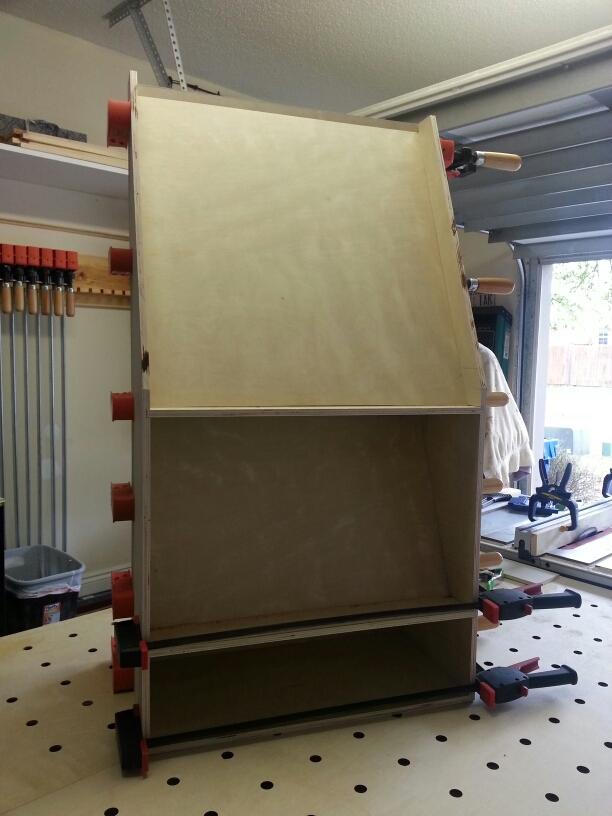
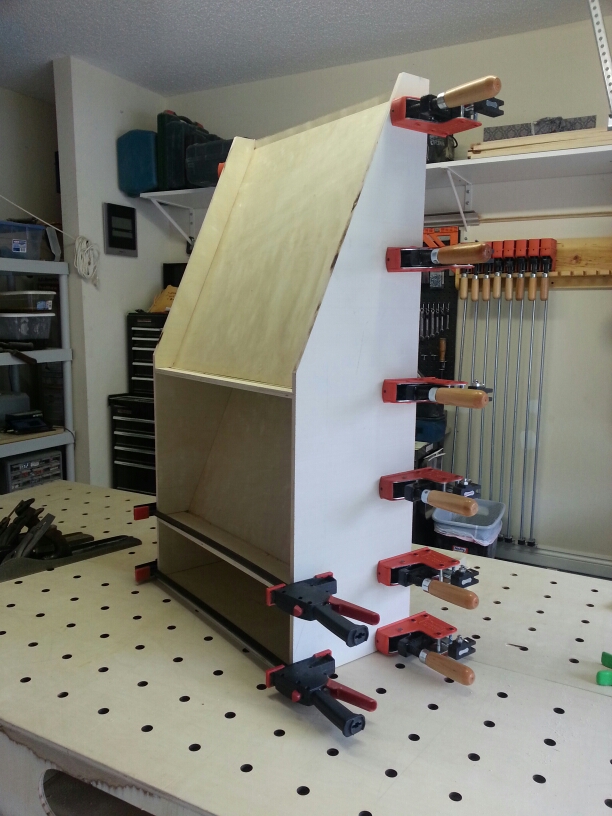
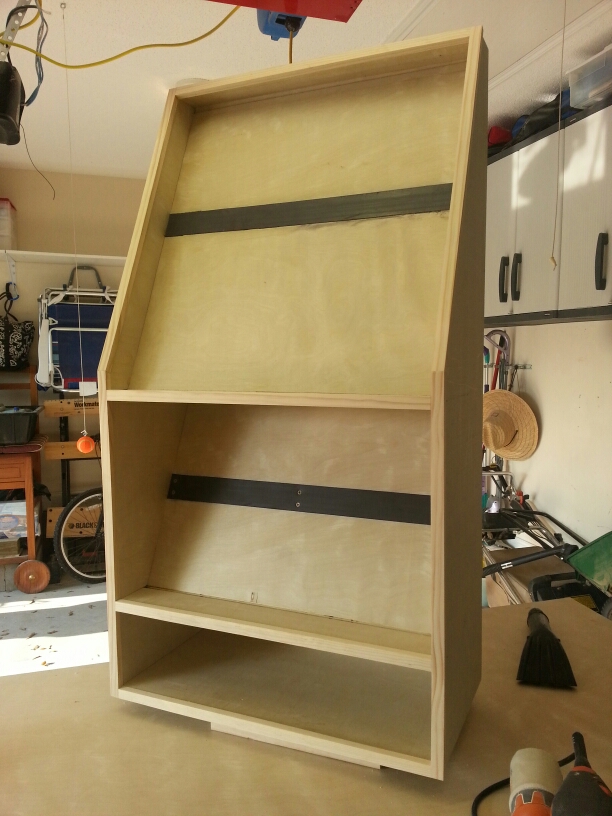
I ripped and cut everything down to size using my table saw. The dados and rabbets where fabricated using my router with a 1/2 inch straight bit. Once I got the depth set at a 1/4 inch and then used a circular saw straight edge and a few clamps to hold it in place. Using the router kept me from having to get the dado set out every time I forgot to cut something.
I assembled all joints with wood glue and then used finish nails from the outside. This kept the surface that you can see nice and clean. It’s a good idea to go through a couple dry assemblies before applying glue. This will insure that you don’t have any unexpected surprises once the glue is dripping everywhere. Also, I like to sand all of the pieces before assembly to remove pencil marks.
I loaded up a few of the planes to see how they looked in the till. The angle of the plane shelf is 23.5 degrees and was chosen because I thought the planes would sit on the shelf without falling. The planes seemed to be pretty stable but I wanted a little insurance that they wouldn’t slide to the side and fall off the till.
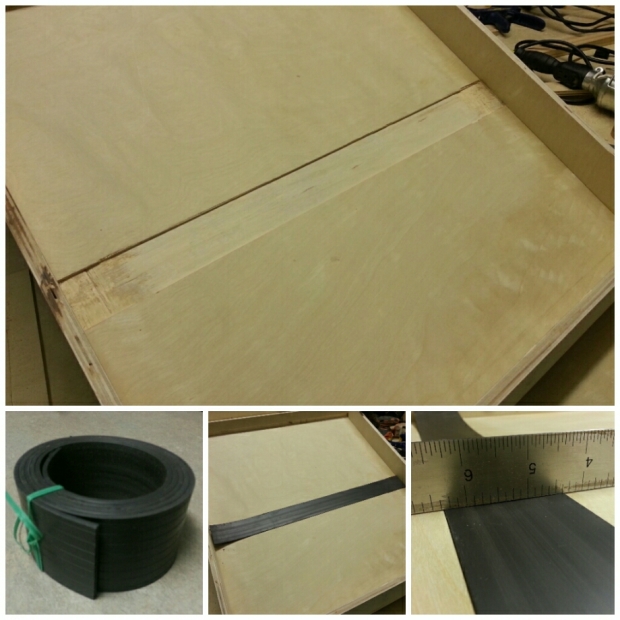
I ordered 5 feet of flexible magnet from McMaster-Carr. The magnet is 2 inches wide , 1/8 inch thick and has a 34 lb per foot holding strength. It was installed by cutting out a 2 x 1/8 inch groove from both shelves in order to flush mount it. As you can see from the bottom right picture in the collage, it worked out nicely.
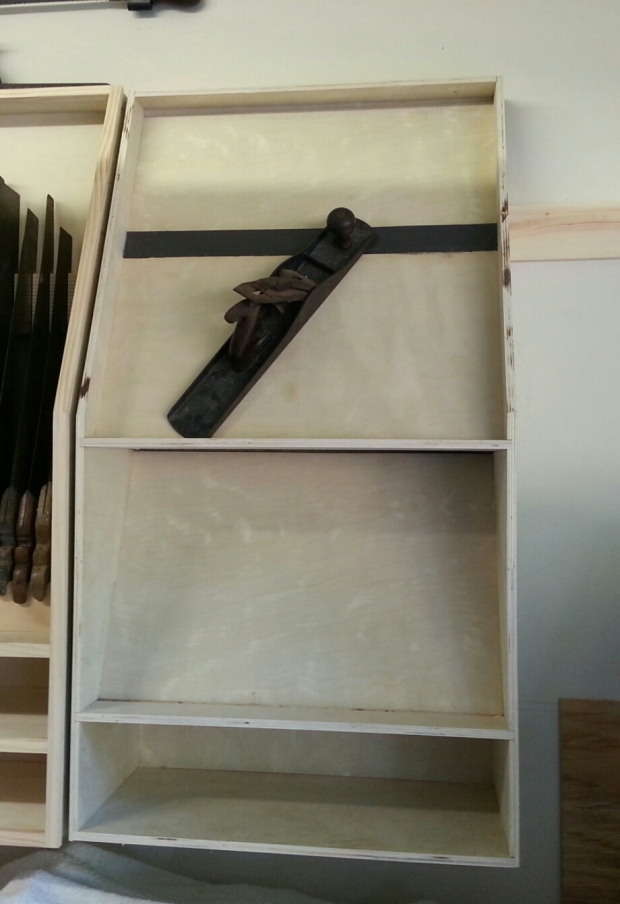
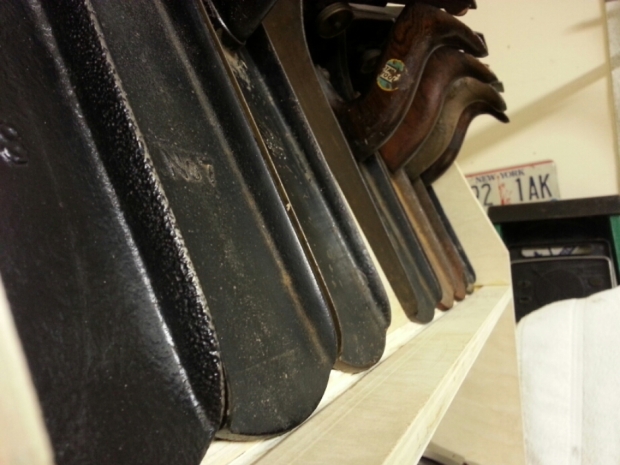
Here you can see a Stanley No.6 at about 50 degrees. The magnet isn’t going to lock the plane in place but it’ll provide enough hold to keep it from sliding sideways and falling to the floor. I’ve actually had nightmares about this and have woke at 3AM to check on the planes. So far, I’ve not had any surprises!
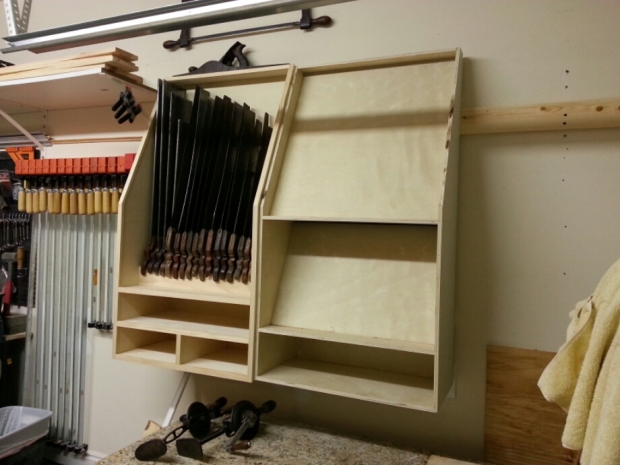
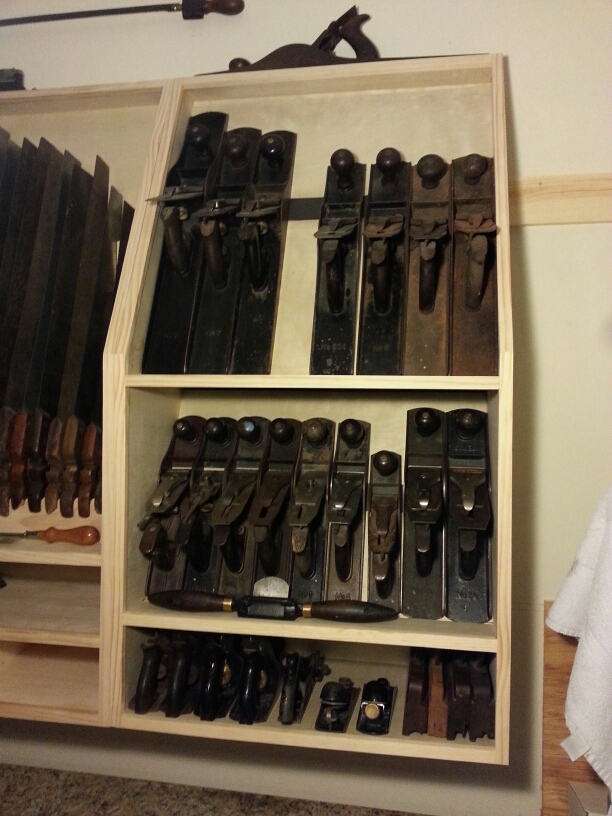
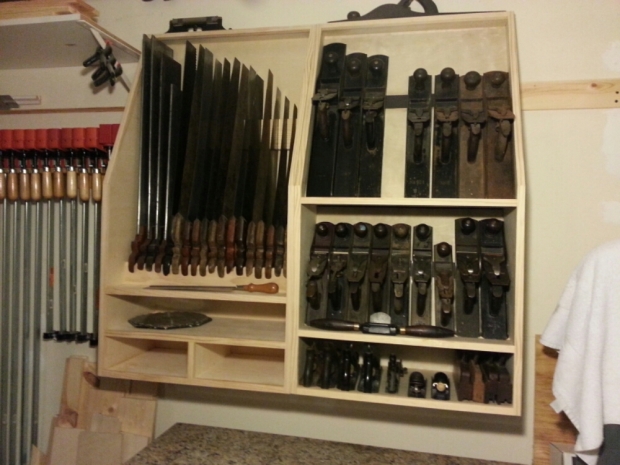
I mounted the till on the wall using a French cleat. Here you can see it next to my saw till (SPOILER! Look for an upcoming post).
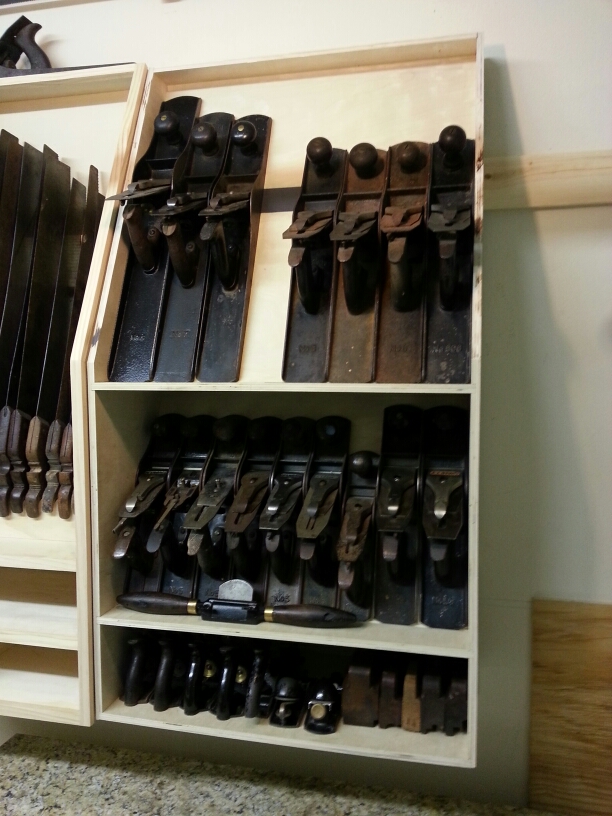
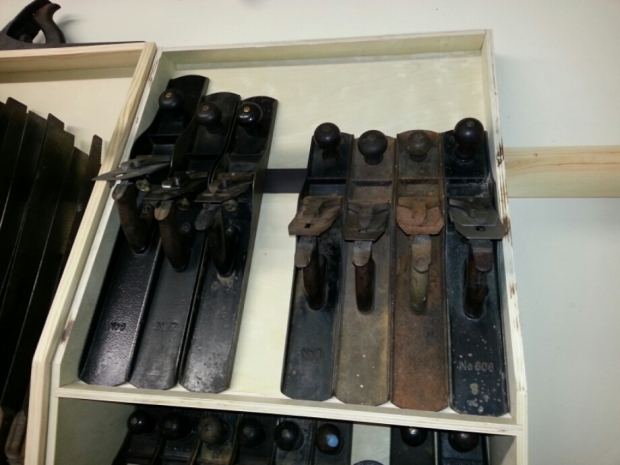
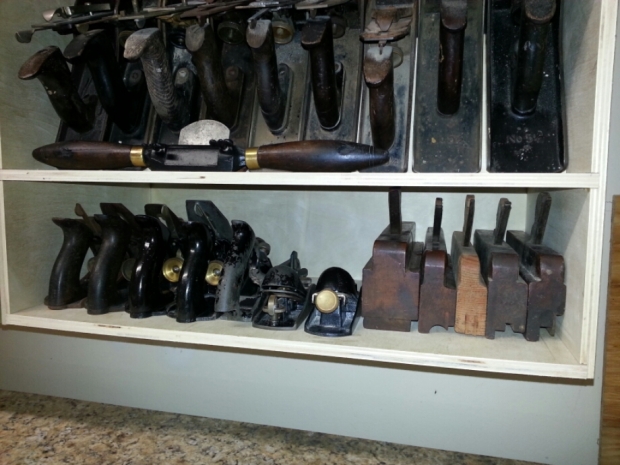
Once the glue for the magnetic strips dried, I hung the cabinet and loaded it with my collection of bench planes.
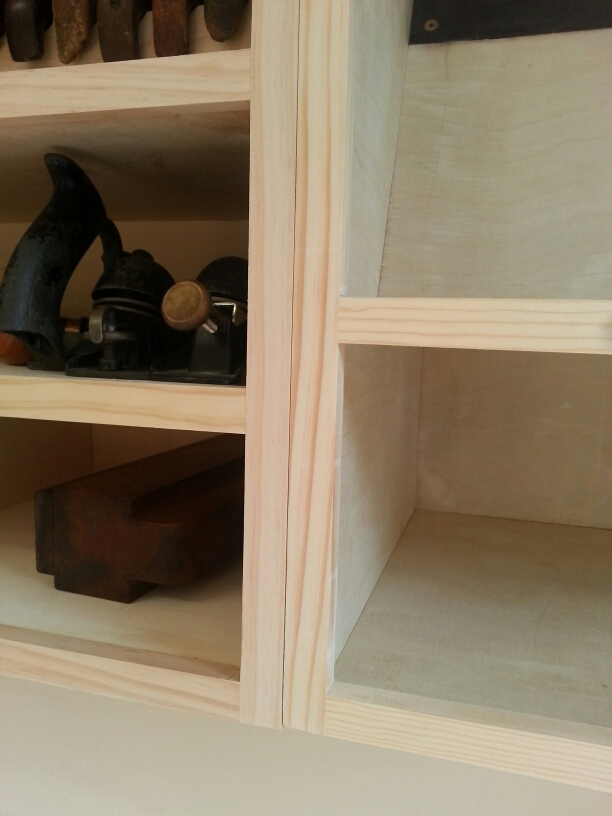
This weekend I’m going to trim the cabinet and begin work on the next project. Check back for a few pictures of the finished till, and please let me know what you think and if you have any questions.
Update… Trim was installed this weekend.
Recent Comments