Posts Tagged garage design
The Ultimate Workbench…
Posted by Christopher in Projects, Workshop Design on April 22, 2014
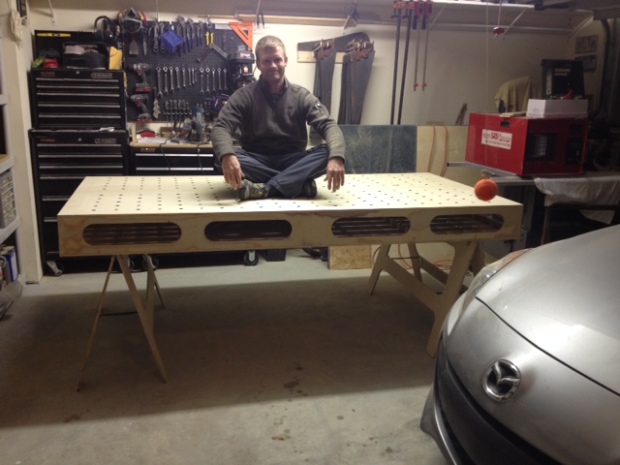
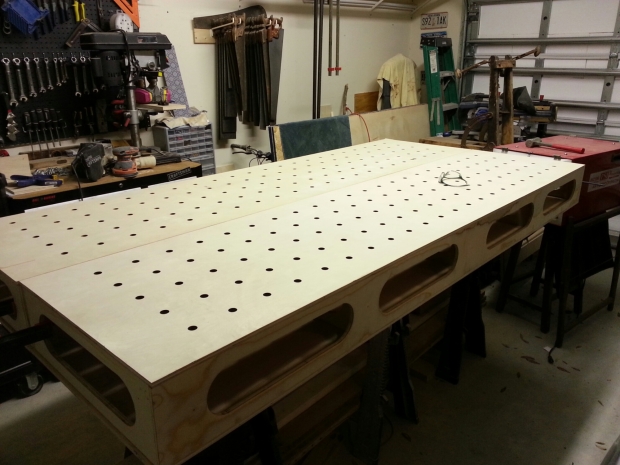
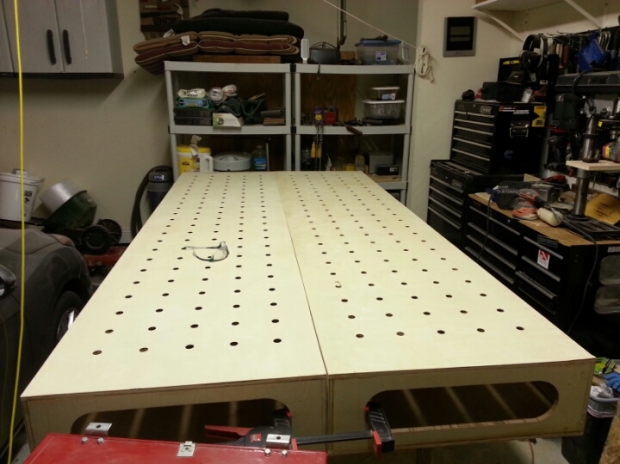
A while back (OK, it was forever ago), I wrote a quick post on upgrading the lighting in the garage and indicated that in the next few months I would be building a workbench. Well, I finally got around to building one and this is what I ended up with.
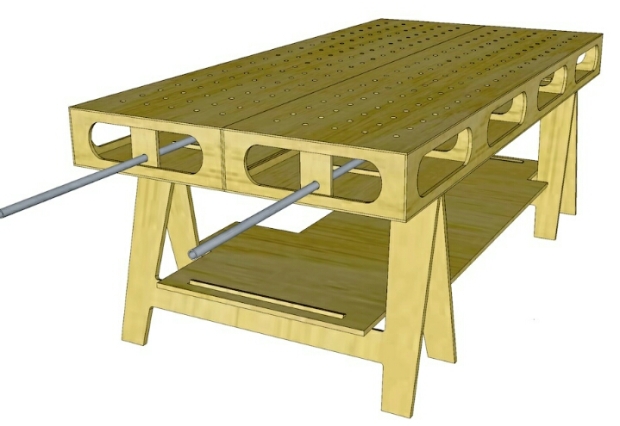
A lot of thought and design consideration went into selecting a workbench. Weeks, maybe months (I can be dramatic) went into researching and trying to figure out how I could fit a good size workbench into half of a two car garage. In my research I came across every type of workbench possible, some simple and many very intricate. I saw a very popular workbench called “The Ultimate Workbench” designed by Ron Paulk. I spent a few hours reverse engineering his bench from the published specifications in a CAD program, but in the end, curiosity about how my design differed from his drove me to paying $10 for the plans. It was nice to know that my plans matched Ron’s in every dimension except for the oval cut-outs on the sides. The plans are well worth the money and cover everything in great detail (There’s even schematics for a router fence included). Ron even has a series of YouTube videos where he goes through the fabrication step by step. It’s helpful for those of us that get frustrated with schematics.
So why did I choose to build this workbench when my woodworking interest is in vintage hand tools? The ultimate workbench appealed to me for a few reasons; it’s modular and could be broken down for transport and storage out of the way, it’s very versatile with plenty of room for clamping and tool storage, and finally it just looked cool.
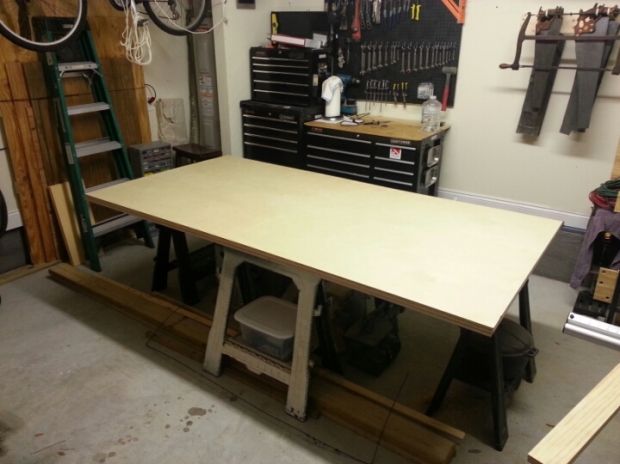
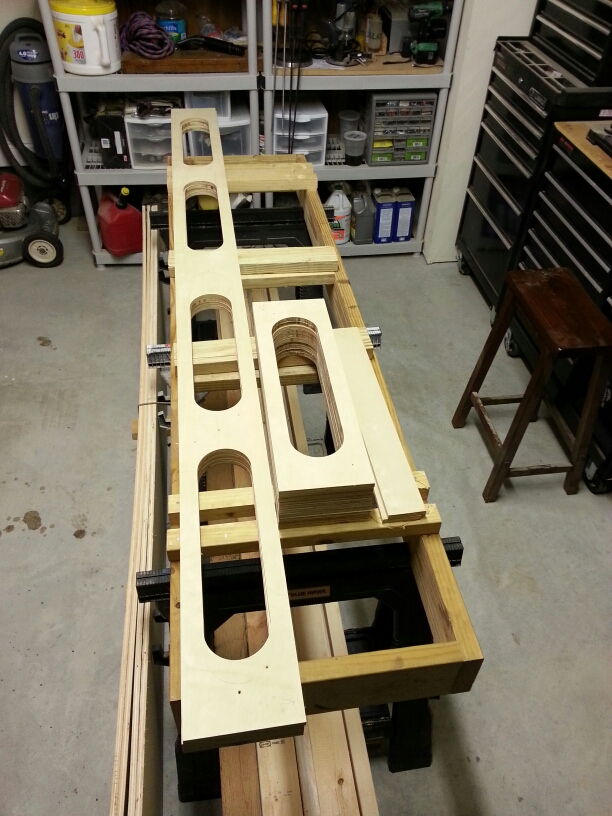
Having access to a router and table saw makes the build a lot easier. The only real issue that I had was that it really requires a workbench to build a workbench. Luckily for me I had a few cheap saw horses and a couple 2×6’s leftover from a previous project. It wasn’t ideal but it worked. Other than that, the build went very smoothly.
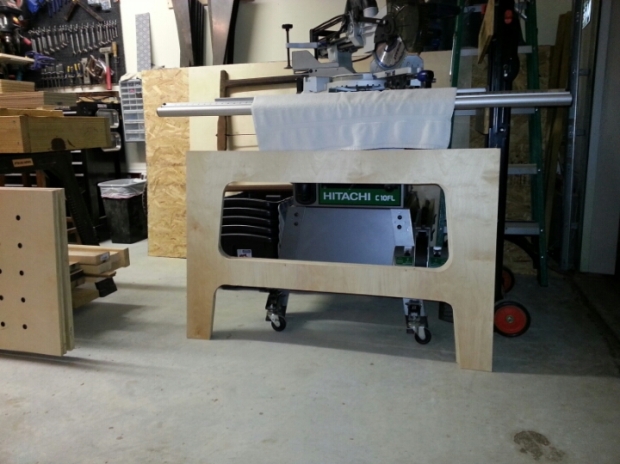
Measure twice, maybe three times and don’t rush with the first piece of each section. These pieces are used as a templates for the rest and makes for a very quick fabrication when done correctly. In the first evening I was able to rip and cut everything to length. The following day I laid out and cut the openings in one of the rails and cross pieces. This was a long evening and the most frustrating part of the build. The next session was very simple and I was able to cut out all of the openings and finish one leg to the saw horses.
Wait a second, I just remembered that the most frustrating part of the build was drilling 10,000 (dramatic) pocket screw holes. I don’t remember the exact number but I wore my little Kreg pocket screw jig out in the process.
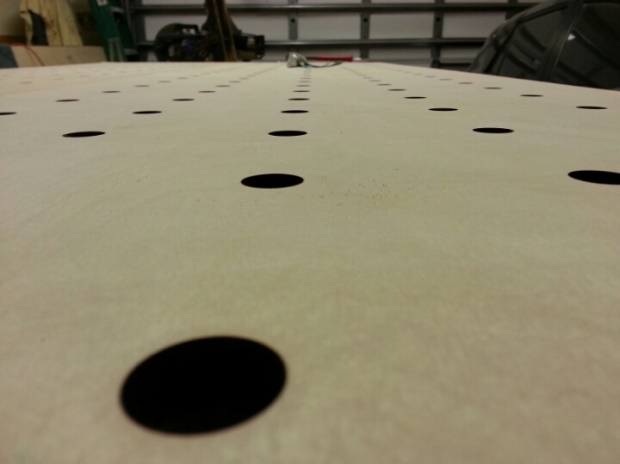
Have you ever wondered how straight you could drill a line of 3/4 inch holes? Me either, but the next step in the build is going to help you with the answer to this question.
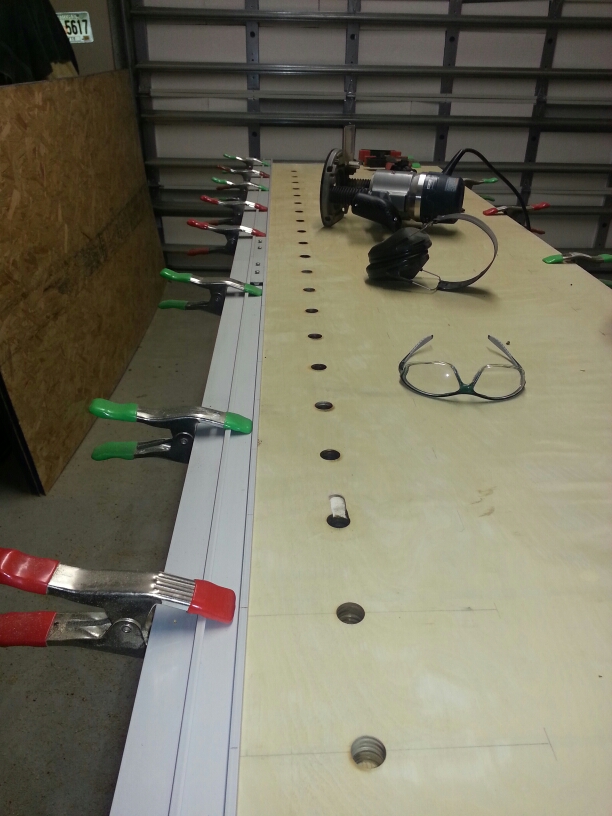
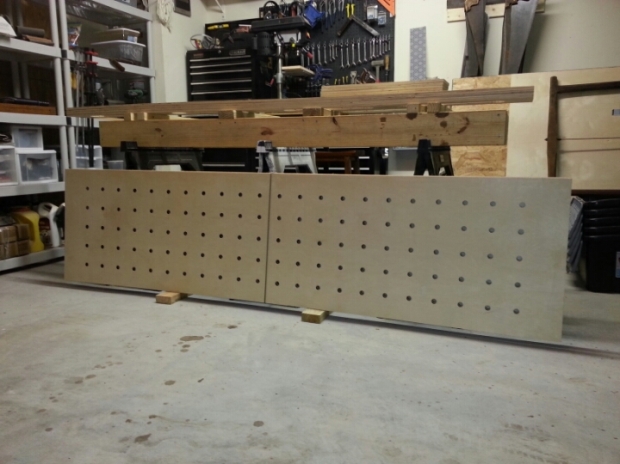
Line number one done! Looks pretty good huh? Ignore the third hole! That's what happens when you get in a hurry
I used a straight edge to line everything up. It’s a store bought circular saw guide for cutting sheets of plywood. Using a pencil, I made a mark every four inches on the guide that I could line up with a mark on my router. This way, you only have to position the straight edge for each row. Measure the diameter of your router base twice and make sure to divide it by two when positioning the straight edge. Figuring this out made drilling all of these holes rather easy.
The final step in the fabrication was fastening all of the parts together. I used glue, clamped everything together before fastening with screws. The finished product is pretty impressive. The workbench is stable and very strong, but light weight enough to be moved around and assembled by one person.
For the table, I chose to use a nicer cabinet grade 1/2 inch plywood. The total cost, including screws, a router bit and two clamps was $180. There are some upgrades that I have planned for the table. I plan to fabricate brackets that’ll allow me to use bench dogs for plane-ing and a carpenters vice to help with cutting tenons and dovetails.
I’ve been using the workbench for a few months and all I can say is awesome! It’s great for layout, fabrication, assembly and finishing. I would recommend it to anyone who’s looking for a good all around work station. It’s not the last workbench I’ll ever build, but it’s one that’s going to come in handy for years to come.
Let me know what you guys think and hit me up if you’ve got questions. I’ll be happy to help.
Recent Comments